Welcome to the tutorial for managing and editing the Newsroom on the Warner Bros. Discovery Corporate website. The goal of this tutorial is to guide you through adding press releases to the Newsroom as quickly and painlessly as possible.
The WBD Corporate Site is built on the WordPress platform. WordPress is quite easy to use for anyone and if you follow this tutorial – you will be publishing with ease in no time. We’ve provided a step-by-step tutorial in two versions: video tutorial and text tutorial. We’ve also created a quick guide for those who have more experience using WordPress.
WBD press release standards
- Avoid using all caps in your release title. Please use title case instead.
- No images or videos should be included in the text portion of the release. If you need to share assets, please link out to the appropriate location. This may mean linking to legacy press sites where appropriate in the interim.
Connection Issues While Using a VPN
If you are having trouble connecting to the WordPress Admin, try disabling your VPN. This is due to our site security software seeing anonymous VPN connections as a threat and will attempt to block the user.
Term Alert
Throughout the tutorials, you will hear the term “Post” a lot. Post is a generic term for a Blog Post. In our world, Post = Press Release.
Video Tutorial
Save Draft
Important Note: As you are working on your Post, make sure to always Save Draft until you are ready to publish. If you accidentally Publish your Post, you can always Switch to draft at the top right of the screen. This will unpublish the Post.
Tutorial
Below are the steps to get your press releases up and running. Click on the links below to jump to each section.
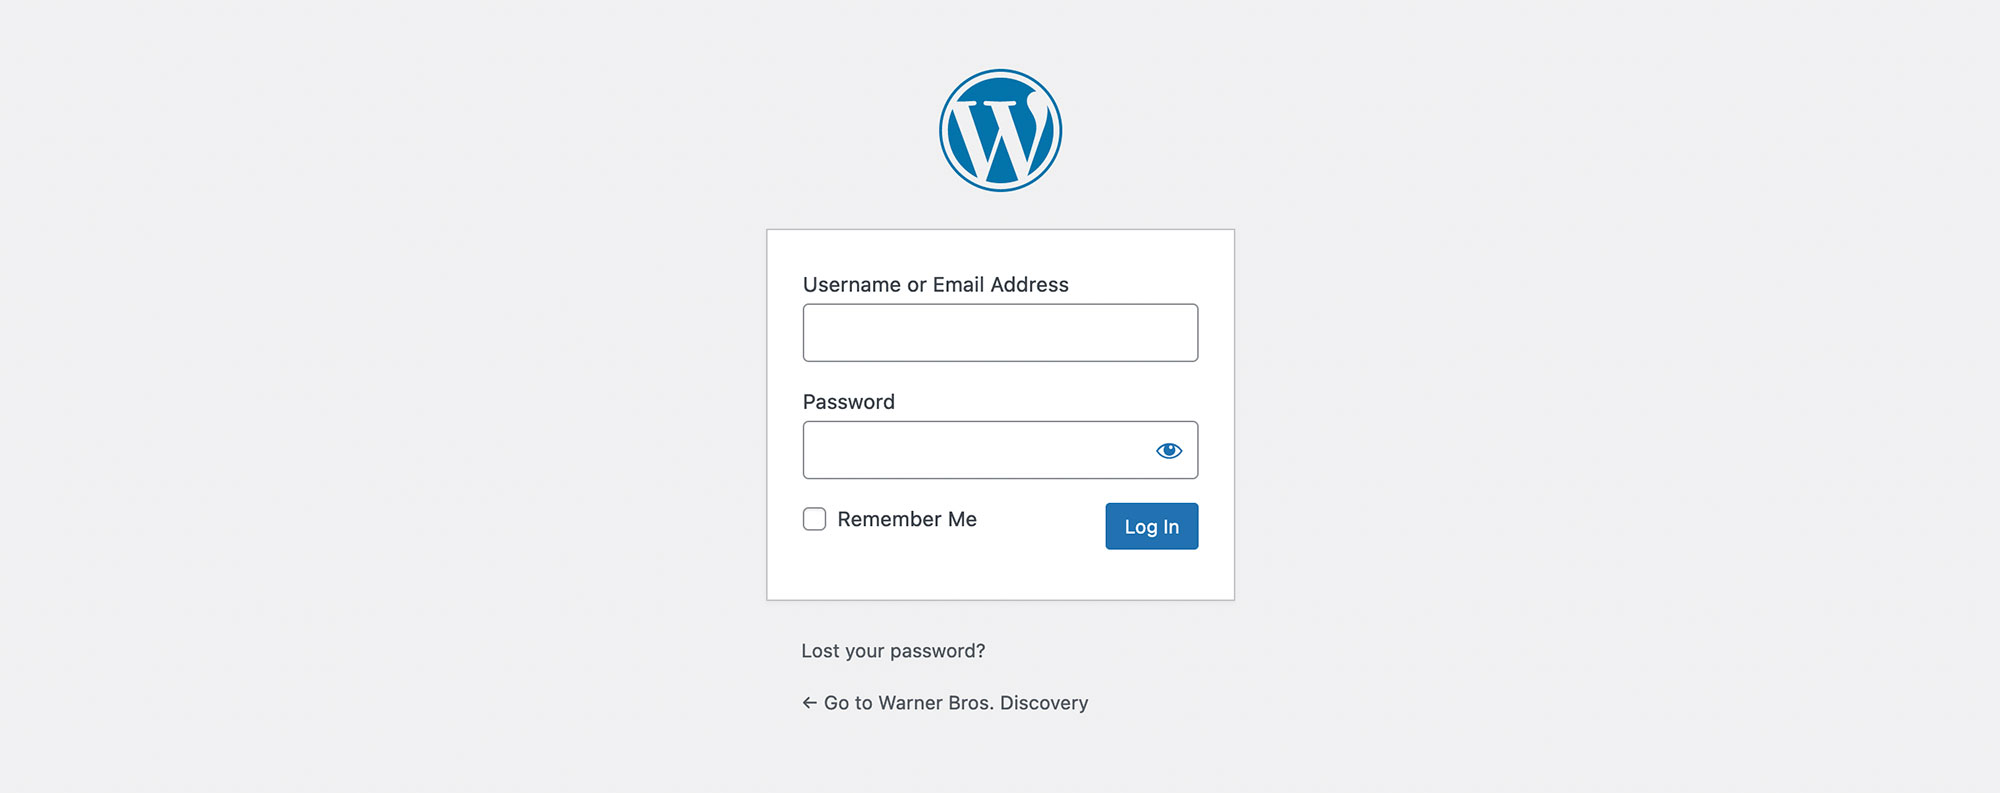
1) Login to the WordPress Admin
To get started creating your first Post in the Newsroom, login to the WBD.com WordPress admin. You should have already received an email with a link and your username and password. For security purposes, we will not be providing the link to the WordPress admin page here.
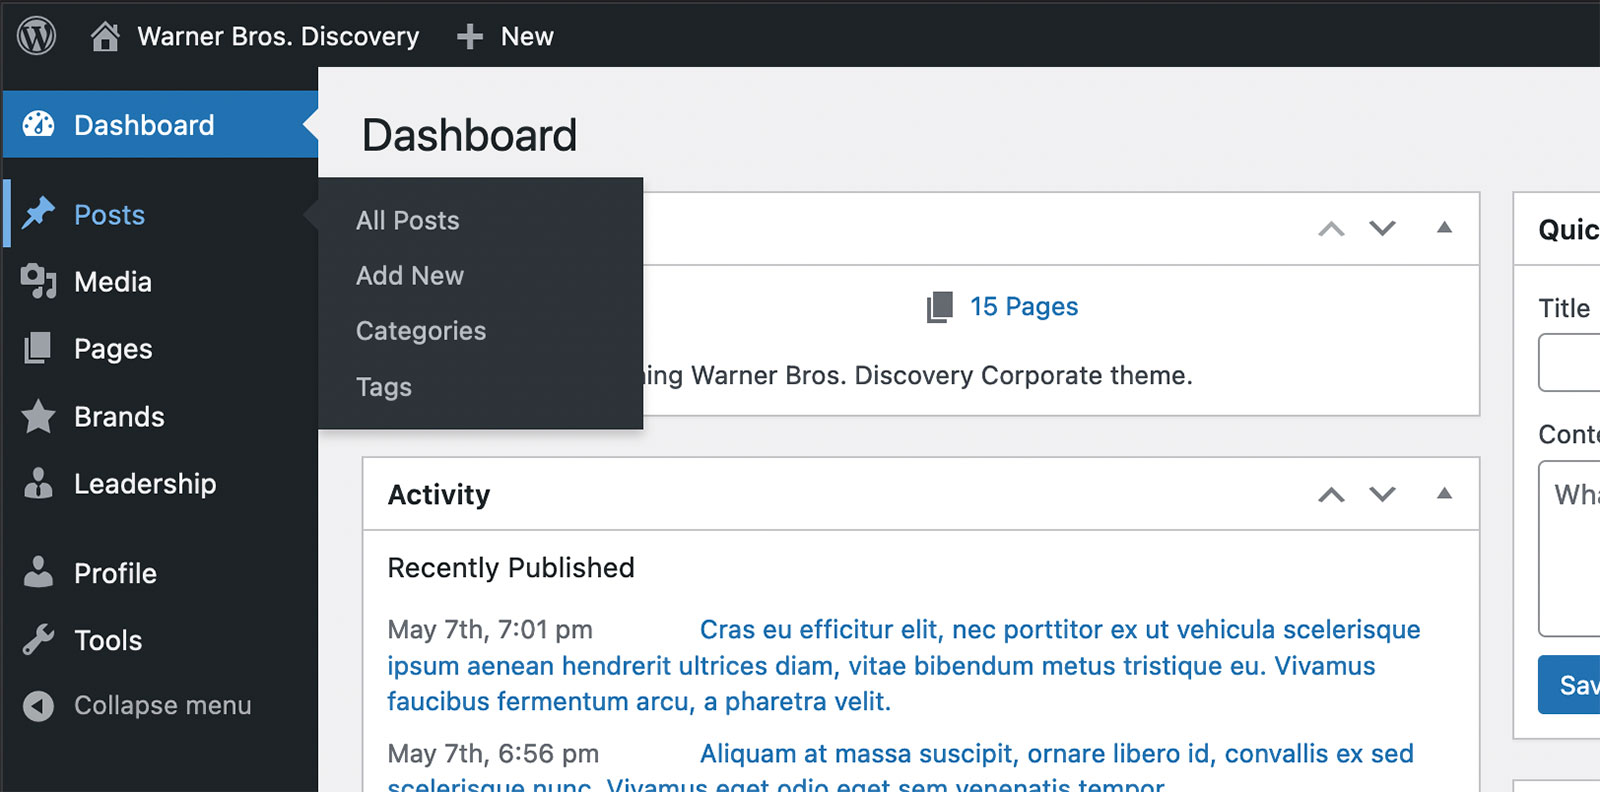
2) Create a New Post
Once you have successfully logged in, locate the Posts menu on the left-hand side of the WordPress Dashboard. Select Add New.
3) Add a Title
At the top of the page, enter your post’s title. You can easily copy and paste your post’s title from Microsoft Word or any other word processing application.
The Post Title is the headline of the document. It will appear at the top of the Post as well as be used as the default URL for the Post.
For consistency, please avoid all caps and instead use title case for your Post Title. You can use this tool to quickly convert your text.
Save Draft
As you are working on your Post, make sure to always Save Draft until you are ready to publish. If you accidentally Publish your Post, you can always Switch to draft at the top right of the screen. This will unpublish the Post.
4) Add a Subheading
If your Post includes a single subheading, please set it as an H2 heading.
If your Post includes multiple subheadings, please use the List feature in the toolbar above and set the text as bold and left-aligned.
Add a Separator
The Separator block adds a simple horizontal line between sections of content to help break things up visually. One area to consider using the Separator block is after the subheading and before the content. Simply click on the + icon and search for Separator. See it in action.
6) Add Content
One of the best features of WordPress is its ability to maintain the content formatting and links from your original press release document (does not include PDFs). Simply copy the content in your original document and paste it into WordPress. 🪄
Add Some Style
If you’re feeling fancy, feel free to use the built-in WordPress Drop cap functionality. It adds visual style to your Post by enlarging the first letter of the first word in your post and immersing it in the content. To add the Drop cap, click anywhere inside the first paragraph of your post and navigate to the Block tab on the right side of the screen, then toggle on Drop cap. See it in action.
7) Assign a Category
Once you’ve inserted all your content, next you’ll need to assign a category to your Post. The WBD Newsroom is divided into two categories: Company News and Brand News.
Categories
Your Post must be assigned to either the Company News or Brand News categories or it will not appear on the site.
To assign a category to your release, make sure you are on the Page tab on the right side of the screen – if you do not see this panel, click the gear icon at the top right of the screen and it should appear.
Scroll to the middle of the panel and look for the Categories section.
Uncheck Uncategorized and select either Company News or Brand News.
8) Assign a Brand
If your Post is assigned to the Brand News tab, you’ll need to assign a brand to it.
To do this, navigate to the Page tab on the right side of the screen and scroll down to the bottom to Newsroom > Brands.
Type in the brand in the search field (results will appear above). Select the brand. You can include up to two brands in your Post.
If your brand is not listed, please send an email and we will get it added.
9) Add Tags
Tags provide a useful way to group related Posts together (e.g. “Upfront 2022”). Tags also make it easier for people to find your content.
To add Tags, navigate to the Tags section within the Page tab on the right side of the screen.
Type the tag title into the input field. If the tag exists in the database, it should appear below the input field for you to select it. If it doesn’t exist, simply hit the return or enter key and it will create this tag (and add it to the database).
10) Add a Featured Image
If you have an image you’d like to feature with your Post, you can easily add it using the WordPress built-in Featured Image functionality located within the Page tab on the right side of the screen.
To upload an image, click on the Set Featured Image button. This will launch the Media Library overlay.
Select the Upload Files tab, click on the Select Files button and navigate to the image on your computer.
Select the image and click “Open” on the bottom right of the screen – this will upload the image to the Media Library.
Finally, click Set Featured Image on the bottom right of the screen. Phew! 🥴
Featured Image Size
Featured images should be as close to a 16×9 aspect ratio as possible (e.g. it is wider than it is tall). If possible, the image should be no smaller than 1200 pixels wide.
11) Preview your Post
If you want to Preview your work before publishing, Save Draft and then click Preview at the top right of the screen.
Keep Desktop selected and then click Preview in new tab. This will open a new tab in your browser where can see a full preview of your Post.
When you are done reviewing, make sure to close the tab and go back to the previous tab where you were editing your post.
12) Publish your Post
This step isn’t required until you are ready to publish your Post. Feel free to leave it in Draft mode until then.
When you are ready, click Publish on the top right of the screen.
Schedule a Post
Did you know you can schedule your Post to automagically publish for another date and time?
Please Note
As convenient as it is to schedule a Post, please double-check to make sure your Post has been published at the correct time.
To do this, navigate to the top of the Page panel on the right side of the screen.
Select the date and time you want in the Status & Visibility section.
Click the Schedule button on the top right of the screen.
Time Zone
Scheduled Posts will post based on EST. For instance, if you want a Post to publish at 9 am in London, you will need to schedule it for 4 am EST (depending on the time of year). Here is a handy site to help with the calculation.
Quick Guide
- Login into WordPress. You should have received the link to the admin area and your credentials via email.
- Navigate to the Posts menu on the left side of the WordPress Dashboard. Select Add New.
- Copy and paste your content from MS Word or Google Docs into WordPress. WordPress should maintain the formatting and links – does not work with content copied from PDFs.
- Assign a Category by going to the Categories section of the Page panel on the right side of the screen and selecting either Company News or Brand News. Please note: your post will not appear on the site if this step is not completed.
- Assign a Brand. If your Post falls in the Category of Brand News, you will need to assign a brand to the Post. To do this, scroll down to the Brand section of the Page tab on the right side of the screen. Type in the brand (you can add up to two brands maximum).
- Add Tags to your Post by scrolling to the Tags section on the Page tab. Tags can be used to identify events (e.g. “Upfront 2022”) or IP. This helps users filter and find your post easier.
- Add a Featured Image to your Post by navigating to the Featured Image section of the Page tab on the right side of the screen. Images should be as close to a 16×9 aspect ratio (landscape) as possible and no smaller than 1200 pixels wide.
- If you’re not ready to publish, you can save your Post as a Draft until you are ready to publish it.
- To Preview your Post, Save Draft then click Preview > Preview in new tab at the top of the screen.
- When you’re ready to publish your post, click Publish on the top right of the screen.
- If you’d like to schedule your post for another time, navigate to the top of the Page panel on the right side of the screen and select the date and time you want in the Status & Visibility section.
- To unpublish a Post, simply set it back to Draft mode.